Steps
- Go to “Employees“ > “Staff expense“
- At the end of the page, click “New billings“
=> A new window called “Staff expense“ has opened up - Optionally, you may change the issuing “Employee“, “Date“ or “Description“
- Click “Save“
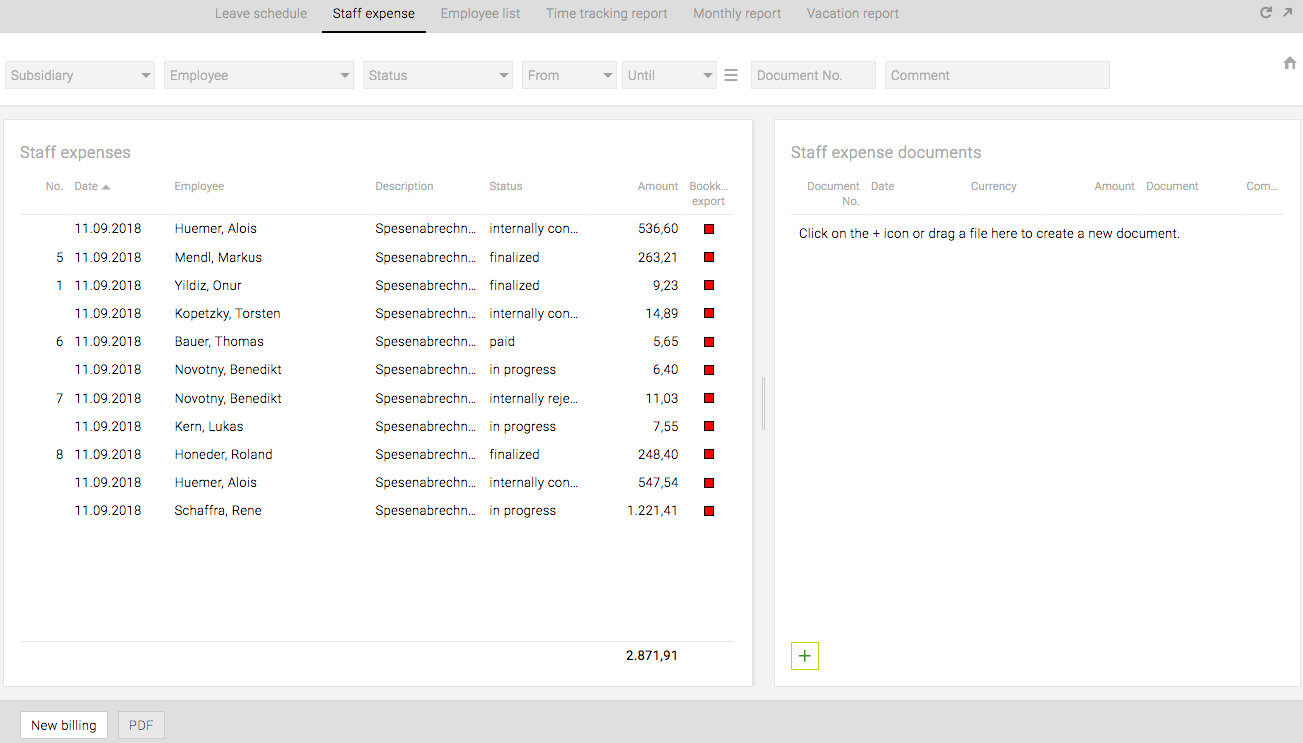
=> The new staff expense bill has been created and is listed in the left pane - Highlight your staff expense bill in the list and click the green ‘plus’ icon in the right window pane to add one or more receipts
=> A new window called “Staff expense document“ has opened up - From the list of jobs, search/filter for and add your job
- Enter the relevant amount in “Net amount / Gross amount“ and a note in “Comment“
- Click the green ‘plus’ icon at “Document > Upload file“ to add your receipt(s)
- HINT: Optionally, if you click the checkbox “Billable“, this staff expense bill can be passed on to the client as an invoice at a later stage
- HINT: If you click the ‘plus’ icon before saving, you may add more receipts and link them to the same as well as differing jobs
- Click “Save“
=> The staff expense bill has been added and is displayed with its status set to “in progress“ in the list of staff expenses - Double-click your staff expense bill and click “Confirm+PDF“ to publish
=> Your staff expense bill has been approved and published as a PDF (for printing and signing); the status has changed to “internally confirmed“
=> If you browse the job that these staff expenses have been linked to, they will show up in “Jobs“ > “Job management“ > “Staff expense“; likewise, if you create a new “Agency invoice“ for this job, the staff expenses can now be billed via the >>Special function<<
HINT: If you or another employee with the suitable permissions (e.g. Finance department) double-click(s) this staff expense bill again, you/they can click “Finalized“ to officially approve this staff expense bill; after doing so, it will not be displayed in this list any more unless you specifically filter for “Status“ “Finalized“