Steps
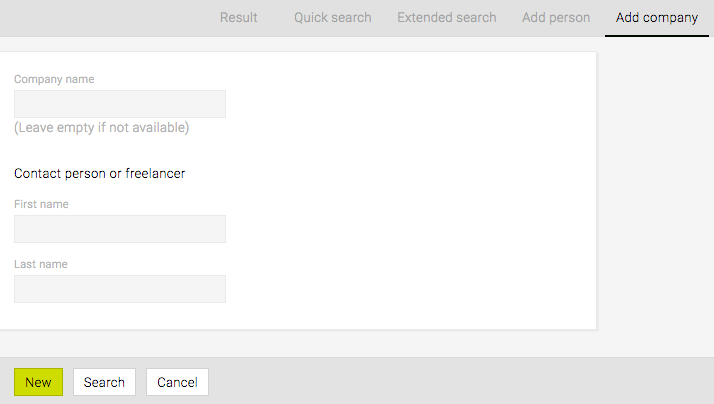
- Go to “Addresses“ > “Add company“
- Specify the “Company name“ and enter the “First name“ and “Last name“ of the associated contact
- At the bottom of the page, click “New“
=> A duplicate check for the company name is displayed on the right side of the page - Click “New“ again to (re)define the company details
=> More contact details are displayed and can be (re)defined (e.g. “Status“, “Suffix“, “Homepage“, “Payment period (Supplier)“, “VAT No./TAX No./UID“, “Our client number“ as well as debtor, creditor and account information) - At the bottom of the page, click the button “Save“
=> A duplicate check for the contact name is displayed on the right side of the page - Click “New“ again to (re)define the contact details
- (not optional) Select “male“ or “female“ at “Gender“
- Specify more details (e.g. “Salutation“, “Agency salutation“, “Agency language“, “Birthday“, “Department“, “Job title“, “Partner’s name“ or “Partner’s birthday“)
- At the bottom of the page, click the button “Save“
- In the Bubble “Consent of person to processing of personal data” between consent granted/open and enter something at Extra Info
- Confirm this with “OK”
=> The contact “Result“ page is displayed, the message “Person created“ is displayed and the company and contact details have been added to the database. All previously entered data can be changed here.