Preconditions:
- a correctly created job
- Go to “Finances” > “Estimates”
- Choose a job by filtering results by budget year, client, area and job, and click “select”
- For the very first estimate for this job, the general settings will be displayed; you may or may not change them, but you have to click “Save” to continue; otherwise, just click “new Estimate”
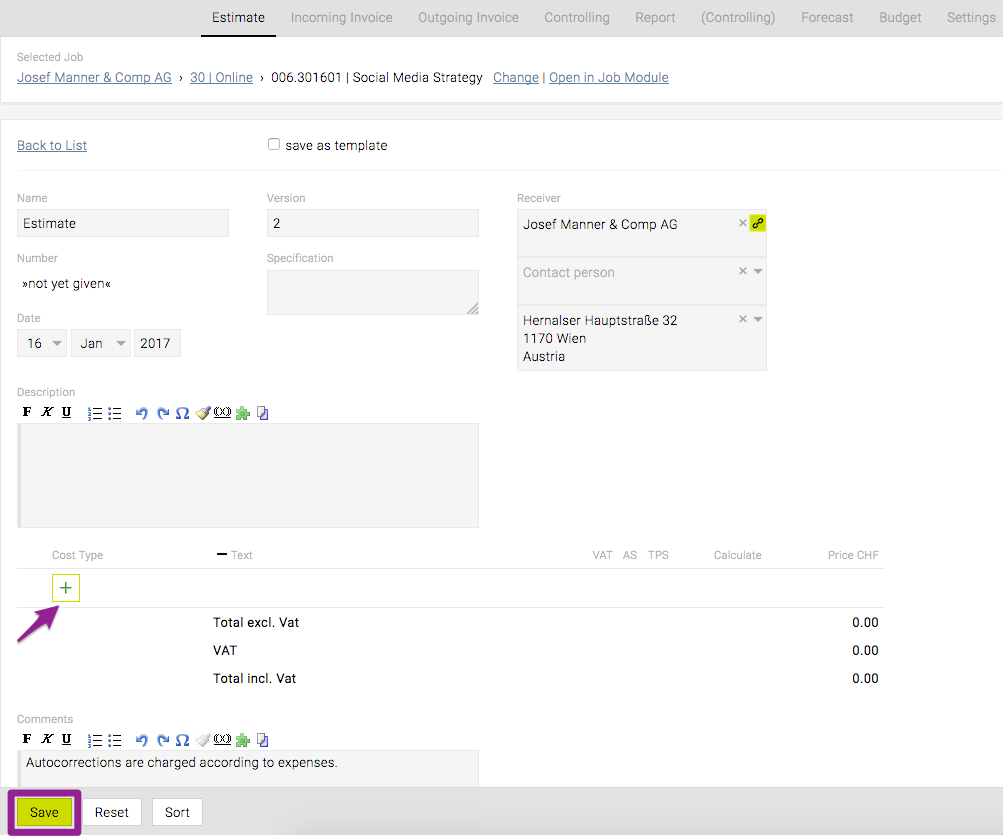
- Several fields might be already filled but can still be changed
- Now, you can add all the estimated costs by clicking the green plus at the end of the estimate:
- Select a “Cost Type”
- Specify a text for the cost and the cost itself; you can either enter this data directly or use the function “calculate” to automatically calculate the cost for a specified service and time frame (checking “Create position text” will also automatically insert a suitable text for that calculation)
- Now, click the green check icon at the end of the line to committ all changes
- You can now add more costs to your offer or rearrange the existing ones by using the other options at the end of the line (+ , x , -, …)
- Finally, click “Save” at the end of the page to save a first version of the offer
- If you want, you can click “PDF” to check the details of the offer as a PDF file
- Only when you click “Finalize + PDF”, the offer is officially registered in the system – the state changes, a number is generated and a final PDF is created
HINT text blocks: You can use “Cost Type” > “Text” > “Text blocks” for offers and invoices to save time and create a uniform look and feel for your documents – simply click the green puzzle icon. By default, texts for the selected cost type are displayed, but you can browse all available texts. Clicking “New” enables you to create a new text block, so you can add new text blocks at any given point.